If you’re new to homeschooling, you’re probably asking yourself: Where are we going to learn? Do I need a dedicated space? What resources do I need? Where am I going to put everything? Should we study at the kitchen table? Or should we sit in a neat little row at child-size desks? Will I have to rename the living room the scrivening room? (Sorry, awful joke.) And most of all, how on Earth am I going to organize my homeschool room?
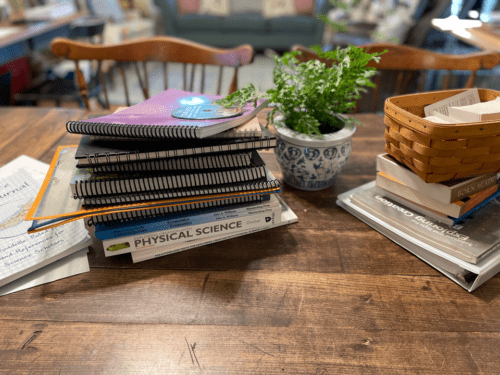
Well, first, let me say that I am not one of those naturally gifted organizers who can sweep into your home and make order out of chaos. I have clutter, especially when it comes to books.
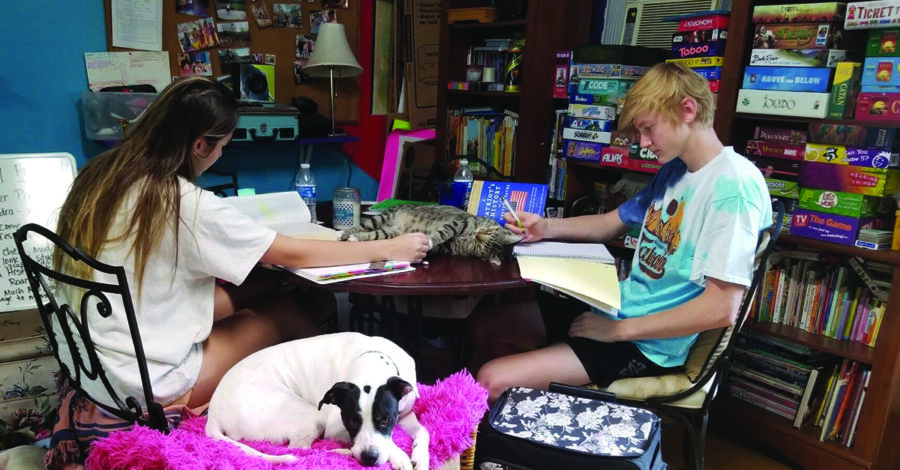
However, I have developed a few key strategies that keep our homeschool room organized—or, at least, more manageable.
Table of Contents
Identify Your Needs and Set Your Goals
Start with the big picture. What do you want from your homeschool room?
My primary goal was to wake up each morning with instant access to everything we might need. I’ve found that hunting for lost supplies can take up a surprising amount of a Monday morning, and improvising a lesson because I’ve misplaced the learning material is only fun the first time.
I also had a secondary goal. I wanted my children to grow more independent and self-sufficient, not just in school but in life. And so, my secondary goal was for my children to participate equally in keeping our homeschool room neat and tidy.
You may have different goals! Here are some goals you may set for your space:
- Maybe you have children of different ages. In that case, you may want to focus on creating a space that’s suitable for the whole family.
- Maybe you have a student with ADHD, and your goal is to create an environment that minimizes distractions and promotes concentration.
- Maybe you want to energize your students. In that situation, your goal might be to create a fun and colorful space with plenty of room for games and creative activities.
And you’ll probably have more than one goal.
The point is that once you’ve set some goals for your space, you’ll have a better understanding of your needs. I’ll share how I achieved my goals in the next sections, but you should modify everything according to your needs.
Next up: the importance of setting up storage space.
Organize Your Storage Space
One of the benefits of homeschooling is flexibility, and that includes the flexibility of choosing your own space. You can homeschool at home in your dining room, your kitchen, your backyard, or at church, at the park, on a pirate ship—the possibilities are, well, not quite endless, but many!
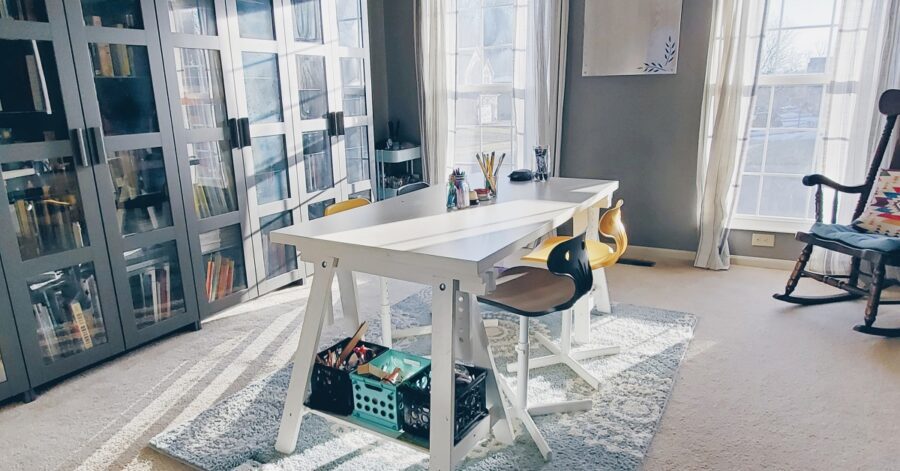
However, regardless of where you choose to learn, you’ll want to dedicate some space to storage. At one point, I converted our formal dining room into a formal learning room, but up until then, we didn’t have a dedicated classroom—and everything went smoothly. No lost protractors or missing lesson plans.
How?
We had a dedicated storage space to keep all our supplies, books, sheets, records, you name it. Here is a look inside my storage space:
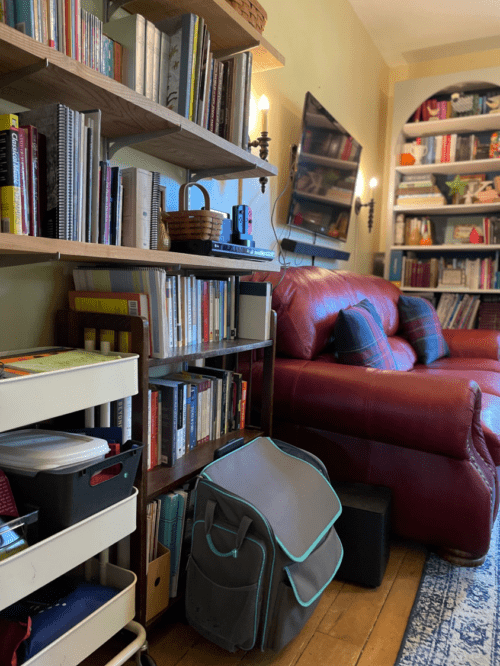
Bookshelves
This was my “must.”
Every summer, I purchased a number of read-alouds and independent readers for our family. They went on the bookshelves. If taken down, they were to be returned to the bookshelves by the end of the day.
Reference materials, supplies, and file boxes also went on the shelves. More about those later.
Now, you don’t necessarily need bookshelves. You could use:
- a cube organizer,
- a storage cabinet,
- or a storage cart (but beware of mischievous children!).
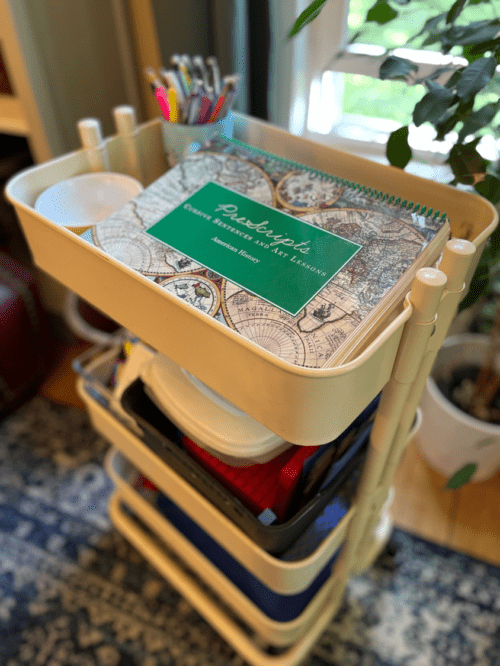
And you can keep them anywhere:
- in the bedroom,
- in a closet,
- or even the garage (assuming your garage is climate-controlled—you don’t want moldy report cards).
The idea is that your “bookshelves” should serve as your homeschooling logistics center.
Reference Materials
My children needed ready access to certain types of materials.
That’s why I kept a children’s illustrated Bible as well as a complete Bible, a dictionary, a Latin dictionary, a thesaurus (I like the Synonym Finder), a history encyclopedia, and a science encyclopedia on our dedicated reference shelf.
Again, anything taken had to be returned.
Supplies
This may seem extremely basic, but I grew impatient searching for sharpened pencils each day. That’s why I kept a pencil case with pencils on my desk.
Other supplies included a pencil sharpener, stapler, three-hole punch, washable markers, crayons, highlighters, watercolor paints, colored pencils, and math manipulatives.
I kept these in colorful labeled containers.
White Board
I simply could not have functioned without a whiteboard.
You can order a whiteboard online, or your local home improvement store can cut a large piece of shower board (sometimes called tile board).
We mounted ours to the wall with mirror brackets. I used a self-adhesive dry-erase container that holds five dry-erase markers and an eraser.
How did we use the board? Here are a few examples:
- Date and day of the week for my youngest to copy
- Math facts that are new
- Copy work and memory work
- Diagramming sentences
- Spelling words and practicing cursive
- Working difficult math problems
File Boxes
Each of my children had a plastic file box with a handle from our local office supply store.
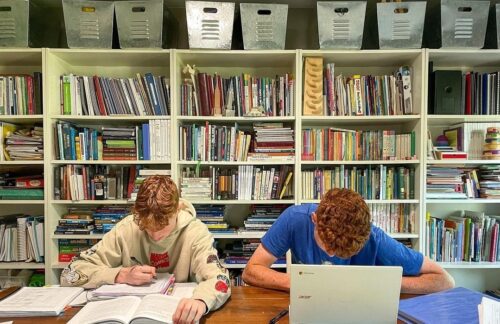
In the box was everything my children needed to start the school day and work independently. More than anything, this simple step saved us so much time.
My eleven-year-old and nine-year-old were in the Essentials program, so those file boxes contained the Essentials Curriculum, Saxon Math 5/4 (for my nine-year-old), and Saxon Math 7/6 (for my eleven-year-old), and our writing curriculum.
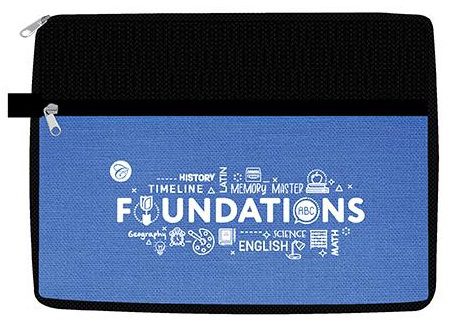
Meanwhile, my six-year-old was in the Foundations program, so that file box included the Foundations Curriculum, the Saxon Kindergarten Homeschool Kit, our memory work, and our handwriting exercises.
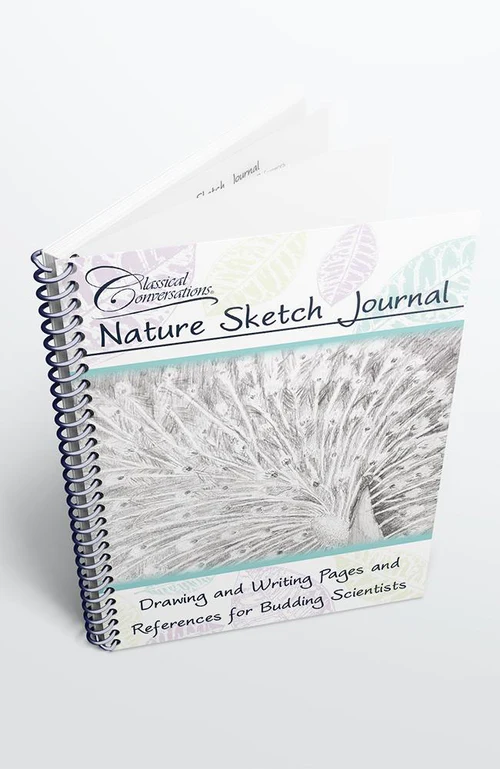
I also included notebook paper and task sheets in each box as well as other learning materials: nature journals and sketchbooks for science, textbooks and workbooks for Latin, and book club selections for additional reading.
Organize Your Learning Space
Now that you’ve set your goals and organized your storage space, it’s time to consider your learning space.
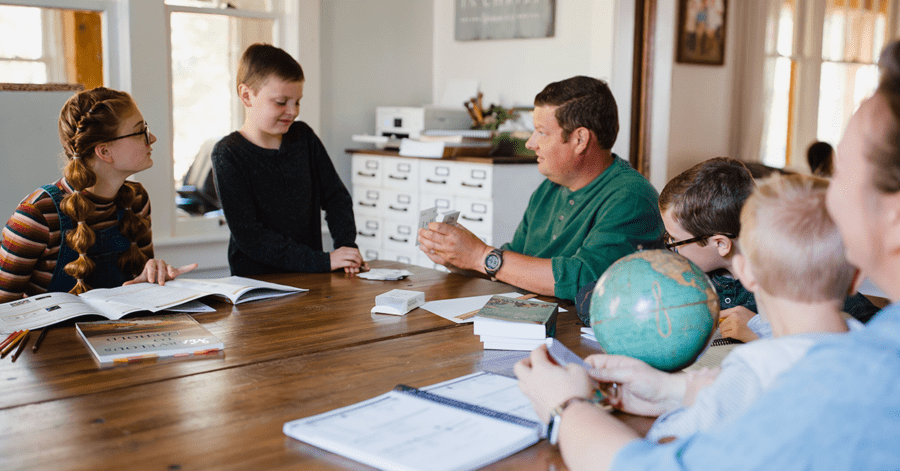
As I mentioned before, homeschoolers can learn anywhere. However, consistency is helpful. Your student will likely find a familiar learning space reassuring as long as that space is organized, comfortable, and stimulating.
These were a few features of our learning space:
Desks
For my family, child-sized desks were not a necessity except for my small children.
It was nice to have a proper desk when my little ones were learning how to write and copy from the board. They also appreciated the extra elbow room when they were drawing pictures, and my dining room table especially appreciated the desk whenever crayons went off course during coloring sessions.
The rest of us usually worked at the dining room table and on couches and beds.
However, you may have different needs. Desks may help students struggling to remain focused, and they can provide some measure of structure.
And if you do get a desk, consider getting one with extra storage space. As a homeschooler, you’ll find that every cubic inch of storage space is valuable real estate.
Decorations
Decorations can help keep your learning space stimulating—but don’t go overboard!
The key to decorating your family’s learning space is to choose functional decorations. Functional decorations look nice and help with learning.
For example, you could create a chores checklist and place it somewhere central in your home. You can find plenty of free, playful, high-quality checklists online. Just print one and laminate it, and then your student can mark off daily chores with a dry-erase marker. (Decent laminators are surprisingly affordable, but you can also laminate paper without a machine.)
You can also turn the decorating process into a learning experience for your student:
- Have your student copy and illustrate the multiplication table on a poster.
- Print out a blank map of the U.S., and let your child fill in the states with names, colors, and state symbols.
- (You may want to go to a print shop for large maps and posters.)
- Create an interactive bulletin board together. As a family, you can:
- Post the daily schedule on the board.
- Pin weekly memory work to the board.
- Fill the board with topical biblical verses.
If your student helps organize the space, your student may also take ownership and help keep that space organized (that’s the hope, anyway).
Here are a few other functional decorations that I used in my homeschool:
Geography Visual Aids
I had four essential teaching aids for our study of geography. Since I did not receive any geography instruction as a student, these were extremely important to me:
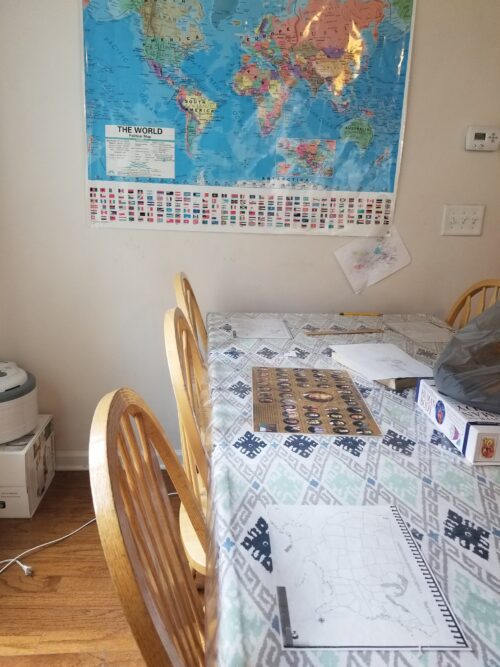
- Large wall map
- Depending on our plan of study for the year, I posted either a large world map or a large U.S. map.
- Globe
- Every once in a while, we needed to be reminded that our world is round.
- Geography terms poster
- While studying, we’d occasionally need a visual reference of terms like channel, strait, sound, bay, mesa, and bluff.
- An inexpensive poster from my local education supply store worked well.
- Small maps
- Each year, I made an 8 ½ by 11 color copy of the Classical Conversations maps that we would use for the year for each child.
- I put them in dry-erase sleeves so that they lasted all year and so that we could trace and label them with markers.
- These sleeves are larger and more durable than page protectors. They are used by mechanics to store customer receipts and car keys and can be purchased inexpensively online.
Recommended Resource: Trivium at the Table Placemats
Posters
Other posters that came in handy included:
- 100s chart for children just starting math
- Number words through twenty so that children can reference the spelling
- Multiplication tables
- History timelines
- U.S.
- World
- Ancient
- Science charts
- Scientific method
- States of matter
- Water cycle
- Memory work posters
- Preamble to the Constitution
- Bill of Rights
- Phases of the moon
Again, you can find many of these online for free, or you can create them with your student.
Organize Your Digital Space
These days, it’s important to think about how you’ll organize your digital space.
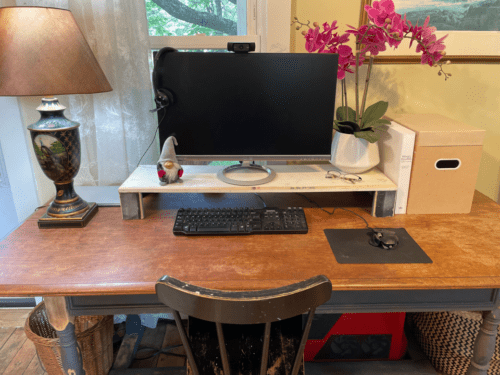
You’ll want to choose a dedicated location for your technology (whether that technology is a desktop, laptop, or even just a tablet). You’ll also want a reasonably quiet and well-lit area—especially if your student is going to use that space.
Classical Conversations now offers a resource I didn’t have when I was educating my little ones: CC Connected. CC Connected’s Learning Center will help you keep your curriculum in order. Everything is sorted by Program, Cycle, and Week, and it’s easy to search with helpful filters. Also, be sure to read “How to Get the Most Out of CC Connected.”
You’ll also want to keep electronic transcripts. You can create transcripts yourself (read “4 Easy Steps to Make Homeschool Transcript” for more advice) or use a service like
- Tools for Transcripts,
- HSLDA Transcript Service,
- or Classical Conversations’ own Academic Records.
If you save anything to your hard drive, I’d recommend nesting your folders along these lines:
- Student
- Year
- Curriculum
- Resources
- Transcripts
- Year
Also, if you like to bookmark resources, be sure to create folders. I like to organize my bookmark folders around topics like science, grammar, Latin, etc.
How I Organized My Homeschool Space
Like I said, I’m not an organizational genius. I’m not the “Clutter Whisperer.” I’m not going to secure a contract with a television network as a professional home organizer any time soon.
However, I identified my needs. I set goals. I set up a storage space as our homeschooling hub. And then I organized our learning and digital spaces.
By following a plan—and by the grace of God—we managed to keep the chaos to a minimum. We streamlined our routine, and that helped us dive right into learning each day.
And now I have some books to declutter!
Looking to draw some inspiration from other parent’s homeschool rooms? Check out Homeschool Rooms in 360 on YouTube!

